Visual guide
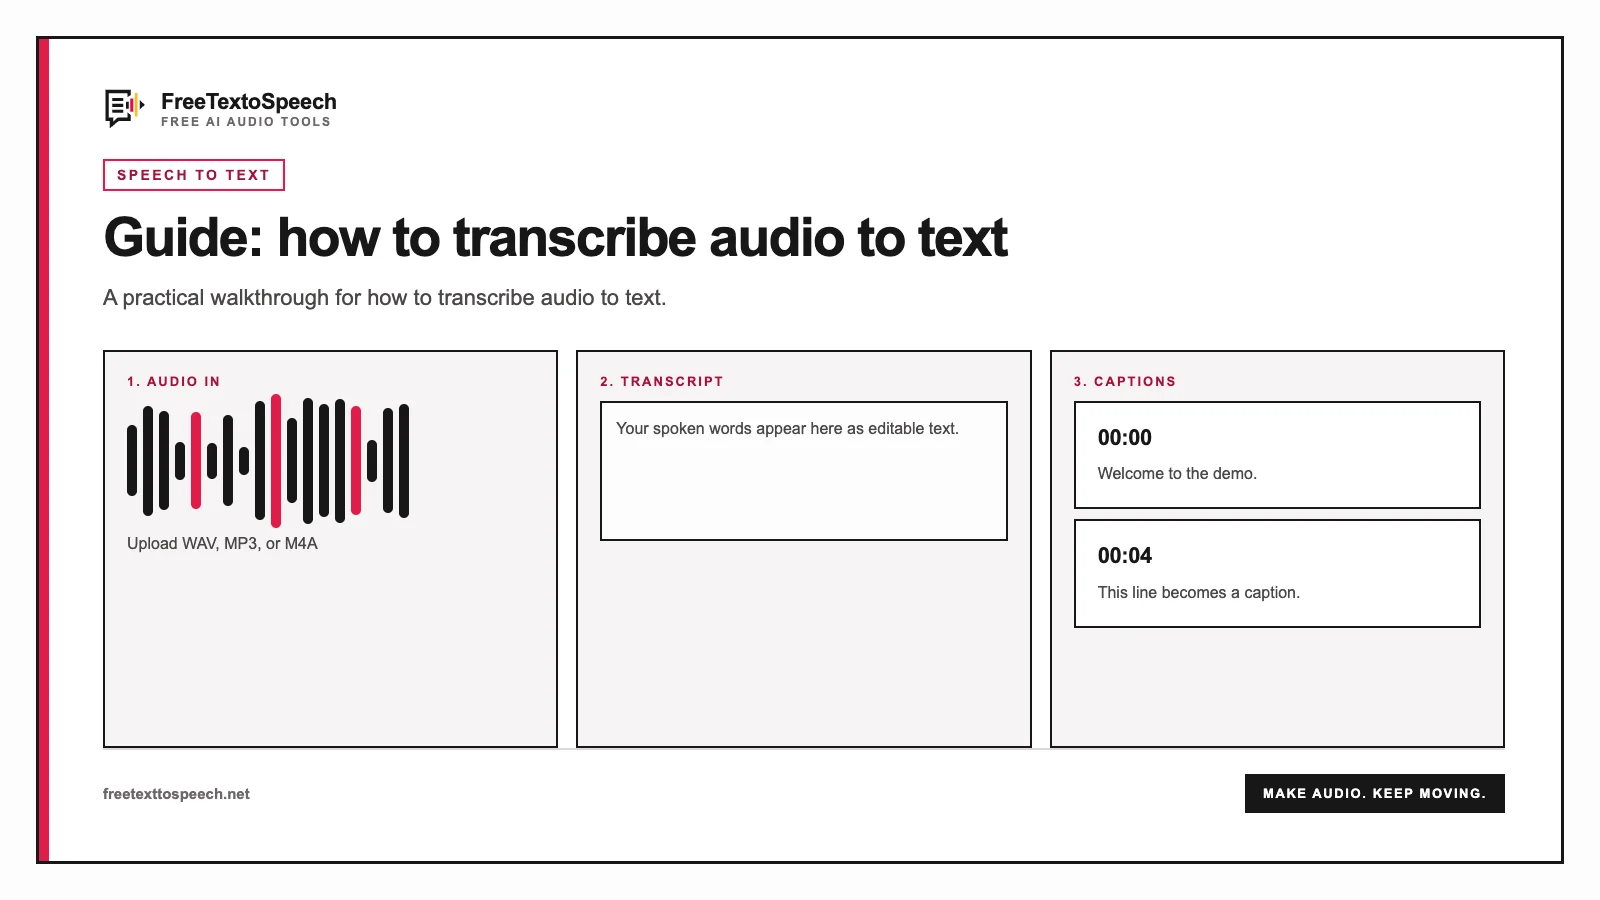
Transcription workflow for how to transcribe audio to text.
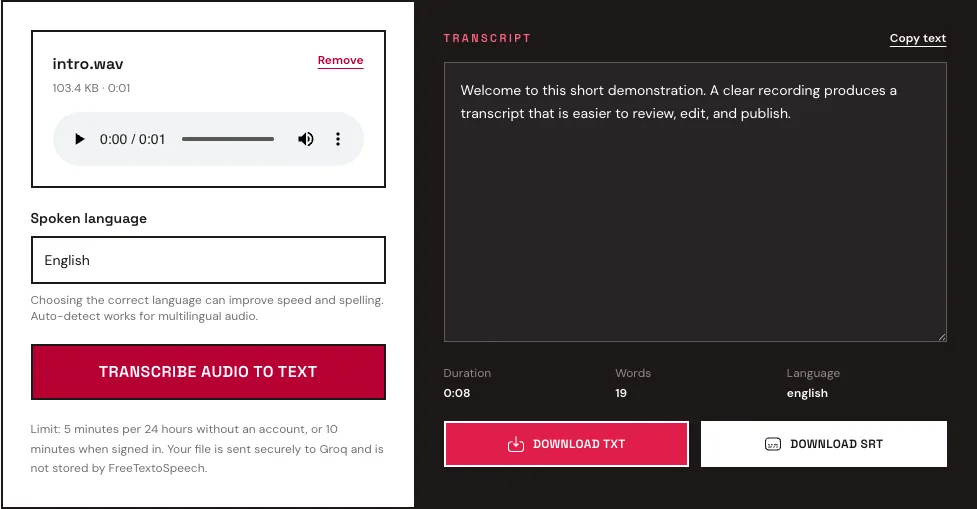
To transcribe audio to text, upload a clear recording to our audio to text converter, select the spoken language, and start the transcription. The tool returns editable text plus an SRT download with segment timestamps.
Automatic transcription removes the tedious first pass. That is the good news. The mildly annoying news is that a fluent-looking transcript can still get a surname or price completely wrong. Treat it as a draft, not a witness statement.
Recording quality sets the ceiling. A close microphone in a quiet room beats a distant speaker surrounded by music and echo, regardless of how capable the speech model is. The workflow below focuses on the parts that actually move accuracy: source audio, language, review, and sensible exports.
The basic process takes four steps:
The converter accepts common formats including MP3, WAV, M4A, OGG, WEBM, FLAC, and several MPEG containers. Shared uploads allow five minutes per file. With your own Groq key, the tool accepts up to 30 minutes; split anything longer at a natural pause.
FreeTextoSpeech uses Groq-hosted Whisper Large V3 Turbo for recognition. The model supports multilingual recordings and returns timed segments as well as the transcript text.
Speech recognition models identify patterns in sound. Anything that makes those patterns clearer tends to improve the transcript.
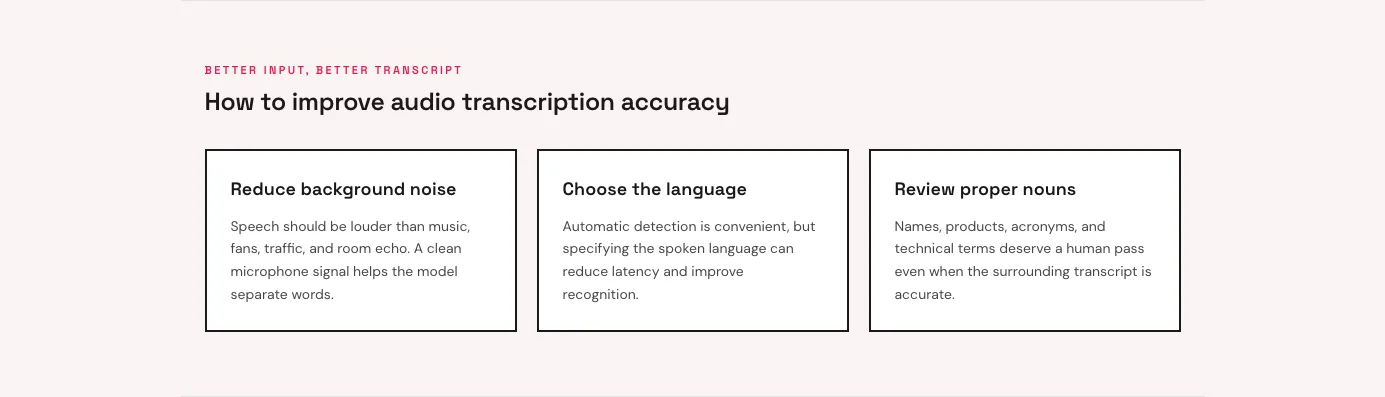
Keep the microphone near the speaker without placing it directly in the path of breath. A phone on a table across the room records more echo and background noise than a phone held at a steady conversational distance.
Do not change the distance repeatedly. Large volume changes force the model to handle both quiet and loud sections in the same file.
Overlapping voices remain difficult for automatic transcription. If two people talk over one another, the system may combine phrases, omit one speaker, or produce words that neither person said.
For interviews and podcasts, ask participants to leave a brief gap between turns. That also makes the recording easier to edit.
Fans, traffic, music, keyboard clicks, and café noise can mask consonants. Noise reduction can help, but aggressive processing sometimes creates metallic artifacts that are just as confusing as the original sound.
Record cleanly when possible. Treat noise reduction as a repair step, not the default plan.
Automatic language detection is convenient for unknown recordings. When you already know the language, selecting it can improve recognition speed and reduce mistakes between similar-sounding languages.
Mixed-language speech is more challenging. Review names, borrowed words, and sentences where the speaker switches languages.
The best source is normally the original recording before repeated conversion or compression.
WAV and FLAC preserve more of the source signal. WAV is large, while FLAC compresses losslessly. MP3 and M4A are smaller and usually work well for ordinary spoken content when they were encoded at a reasonable quality.
| Format | Strength | Tradeoff |
|---|---|---|
| WAV | Clean, uncompressed source | Large file size |
| FLAC | Lossless with a smaller file | Less universal than MP3 |
| MP3 | Easy to share and widely supported | Lossy compression |
| M4A | Efficient for phone and voice recordings | Codec support varies by editor |
| OGG/WEBM | Useful for browser recordings | Less familiar to some users |
Do not convert a clear MP3 into WAV expecting the speech to improve. The WAV becomes larger, but information removed during MP3 compression does not return.
If a lossless recording exceeds the upload limit, convert a copy to mono FLAC or a good-quality MP3. Keep the original file as your archive.
An automatic transcript should be treated as a strong draft. Use a focused review instead of reading it like an ordinary article.
Start with the details most likely to cause real harm if they are wrong:
Play the recording while following the transcript. Pause at uncertain passages and correct the words directly. If the transcript will become subtitles, also check whether each segment appears at the right time and remains on screen long enough to read.
Punctuation may need a separate editing pass. Spoken sentences often run together, and automatic systems must infer where a thought ends. Add paragraphs when the topic changes so the transcript becomes easier to scan.
Choose TXT when the words matter more than timing. Plain text is suitable for interview notes, summaries, blog drafts, research, searchable archives, and copying quotes into another document.
Choose SRT when timing matters. An SRT file contains numbered text blocks with start and end times. Video editors, media players, and publishing platforms use those timestamps to display captions alongside audio or video.
The SRT from an automatic transcription is a starting point. Review spelling, line length, punctuation, and synchronization before publishing it as an accessibility feature.
One common mistake is uploading the most compressed copy available even when the original exists. Repeated compression can blur speech details. Begin with the cleanest practical source.
Another is publishing without review. A transcript can look fluent while containing an incorrect name or number. Fluency is not proof of accuracy.
People also expect transcription to identify speakers automatically. The current tool returns speech and timestamps, but it does not promise reliable speaker labels. Add names during your editing pass when the conversation has multiple participants.
Finally, avoid uploading confidential audio without checking the data policy. FreeTextoSpeech does not store the file or transcript, but the audio is sent to Groq for inference. Groq states that inference data is not retained by default, with limited exceptions for reliability and abuse monitoring unless Zero Data Retention is enabled on the account.
For an interview, split the recording at topic changes. Keep a note of who is speaking and add speaker labels after transcription. Pull quotations only after comparing them with the audio.
For a lecture, divide the file by section. Add headings and bullet points during review rather than expecting the raw transcript to read like prepared notes.
For voice notes, remove long silence before uploading. Short, focused recordings are faster to check and use less of the daily transcription allowance.
For podcast or video clips, download SRT and import it into the editing workflow. Keep the TXT version for descriptions, show notes, and search.
Before transcription:
After transcription:
Let the model do the typing. Keep the judgment. Names, meaning, structure, and publication decisions are still yours, and that is where a transcript becomes trustworthy rather than merely fast.
Visual guide
Transcription workflow for how to transcribe audio to text.
In context
The online studio layout used for how to transcribe audio to text.
A tiny favor
Allow ads for this site, then check again. Prefer no ads? Support us to unlock ad-free access and 2 million cloud characters.
Allow ads for freetexttospeech.net, then check again.
Already supporting us? Sign in to restore your perks.
Send feedback
Tell us what you think
Bugs, ideas, or anything that would make FreeTextoSpeech better.
