Visual guide
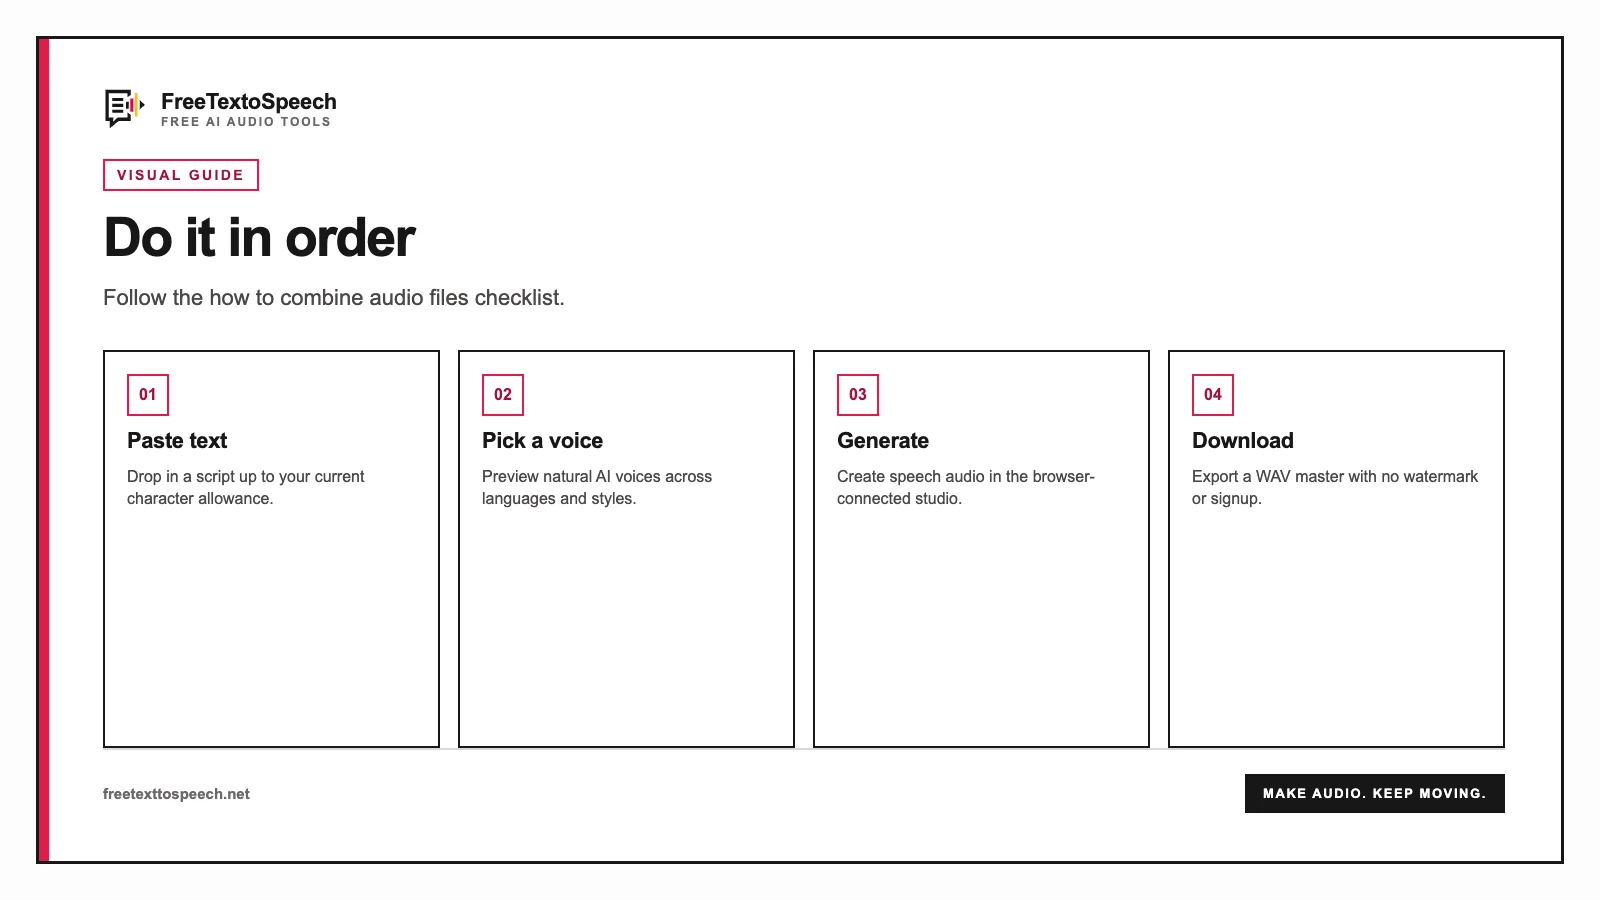
How the how to combine audio files tool presents input and output.
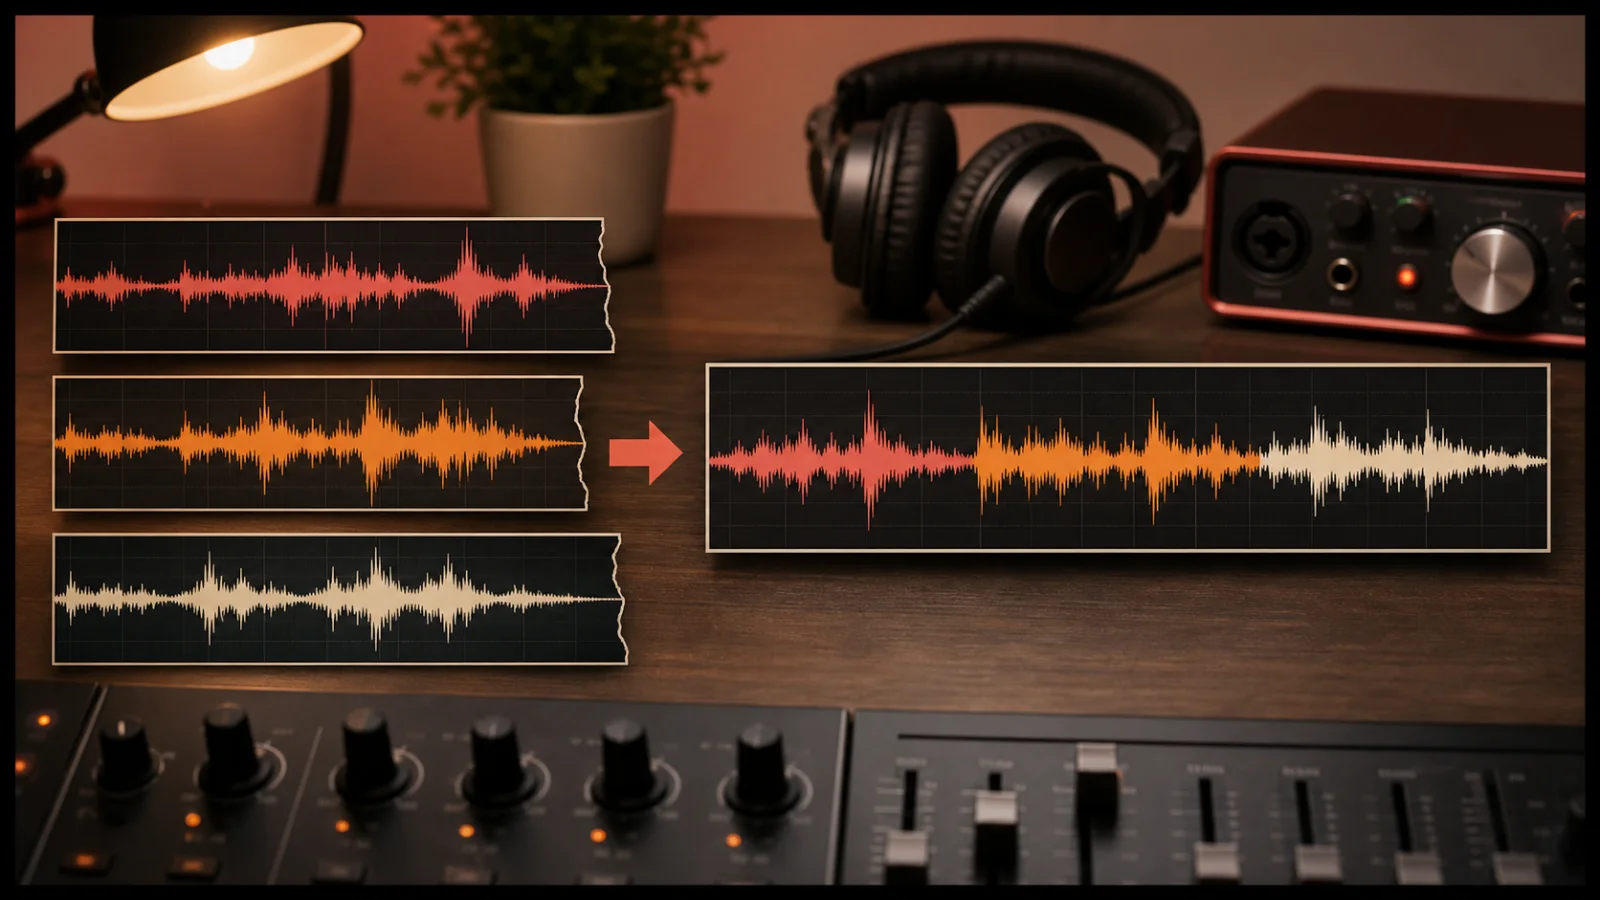
You can combine audio files by adding the clips to our free audio joiner, arranging them in playback order, choosing the gap, and exporting one WAV or MP3. The files are decoded and merged locally in your browser.
The Join button is not the hard part. The hard part is noticing that chapter 10 has slipped in before chapter 2, or that a half-second pause sounds natural between two sections while a full second feels like somebody forgot their line.
This is the workflow we use for voice-overs, text-to-speech clips, podcast sections, music, and voice memos. It is deliberately simple. Get the order right, listen to the joins, and keep a lossless master when the project may change later.
The fastest workflow is:
The tool supports formats your browser can decode, including common WAV, MP3, M4A, AAC, and OGG files. Browser support varies for unusual codecs, even when the filename uses a familiar extension.
Unlike a server-based editor, the join happens on your device. That removes upload time and keeps unpublished recordings out of a remote processing queue.
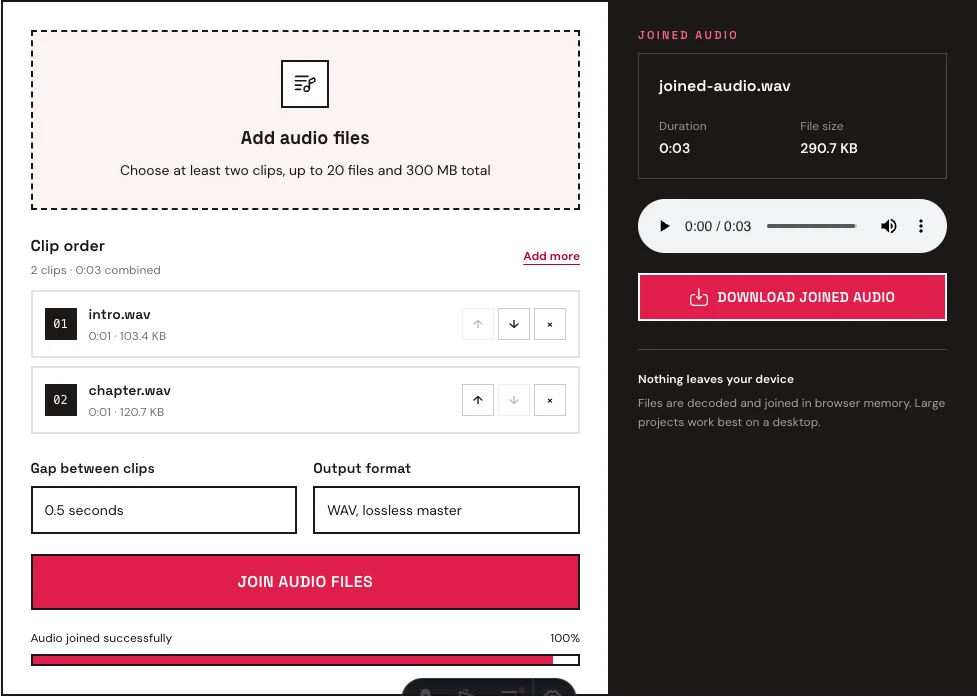
Audio files often sort incorrectly by name. A folder containing part-1, part-2, and part-10 may place part-10 before part-2. Descriptive names can also sort alphabetically instead of following the intended story.
Listen to the beginning and end of every clip before joining. Then arrange them based on content, not the folder order.
For recurring projects, use zero-padded filenames:
chapter-01-introduction.wavchapter-02-background.wavchapter-03-example.wavchapter-04-summary.wavThis naming method keeps files in order across operating systems, editors, and cloud storage.
A direct join places the final sample of one file immediately before the first sample of the next. That can be correct for clips cut from one continuous recording. It can sound rushed when combining separate paragraphs, speakers, or chapters.
Use these gap lengths as starting points:
| Gap | Best use |
|---|---|
| 0 seconds | Continuous recording split into parts, music stems already cut to time |
| 0.25 seconds | Fast dialogue turns, short list items, tightly paced explainers |
| 0.5 seconds | Narration paragraphs, presentation sections, podcast transitions |
| 1 second | Audiobook chapters, major topic changes, separate lessons |
Silence is part of the edit. A short pause helps the listener recognize that one idea has ended and another has begun.
Do not add a fixed gap when the source clips already contain silence at their edges. Trim or inspect those edges first, otherwise a selected half-second gap may become one or two seconds in practice.
MP3 is a convenient source format because files are small and widely supported. However, exporting the joined result as MP3 normally requires decoding and re-encoding the audio.
That second MP3 encode introduces another generation of lossy compression. For spoken content at a healthy source bitrate, the difference may be difficult to notice. Music and files that were already heavily compressed are more sensitive.
Use the following approach:
The audio joiner exports MP3 at 192 kbps, a balanced bitrate for spoken material with music or sound effects. If the finished file is voice-only and must be smaller, convert the WAV master with the WAV to MP3 converter and select 128 kbps.
WAV is the better choice for text-to-speech clips, recording sessions, and any project that will receive more editing.
Joining WAV files as WAV preserves a clean, uncompressed output. The result is larger, but you can normalize loudness, add music, remove noise, or create several delivery formats without compounding MP3 artifacts.
Source WAV files may use different sample rates or channel layouts. One clip might be mono at 24 kHz while another is stereo at 44.1 kHz. To create a single timeline, the joiner resamples the clips to a common rate and uses up to two output channels.
Resampling does not change the playback speed or pitch. It changes how the samples are represented so the files can exist in the same output stream.
Text-to-speech tools often set a character limit per generation. A long article, chapter, or training lesson therefore becomes several WAV files.
Use this workflow to combine voice-over clips cleanly:
A consistent voice does not guarantee consistent pacing. The punctuation at the end of each input affects the final pause. End complete sections with a full stop before generating them.
Use the speech time calculator before generation if the narration must fit a fixed duration. It will not predict every model pause, but it gives you a realistic script-length target.
A basic podcast episode may include an introduction, theme music, main narration, sponsor message, and closing. Those elements can be joined in one timeline without opening a full multitrack editor.
An example order is:
An audio merger works best when every segment is already edited and level-matched. It places files one after another; it does not automatically balance loudness or duck music under speech.
Use a digital audio workstation when clips need to overlap, crossfade, or play simultaneously. Audacity, Reaper, Logic, and similar editors provide a visual timeline for those tasks.
Choose an audio joiner when:
Choose a multitrack editor when:
The simple tool is faster when the job is truly sequential. A full editor is safer when the mix has layers.
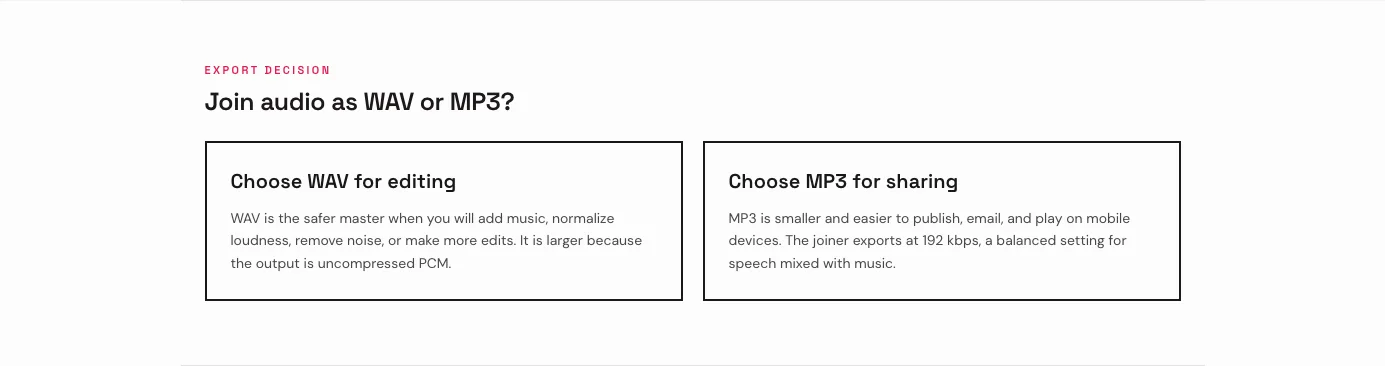
Choose WAV for an audiobook master, a video-editing source, a podcast project that still needs mastering, or an archive. It is the most flexible result.
The downside is size. A long stereo WAV can occupy hundreds of megabytes.
Choose MP3 when the audio is finished and ready for delivery. It is easier to upload, email, store, and play on a phone.
MP3 is appropriate for a listening copy, client review, study playlist, podcast upload, or website player. Keep the source files if future revisions are possible.
A click can occur when a clip ends abruptly away from the waveform’s zero crossing. Add a very short fade in an editor or recut the source. Silence alone may separate the click from the next clip but will not remove it.
Joining does not normalize loudness. Match the levels before combining the files. For voice recordings, compare perceived loudness rather than only peak meters.
The extension may hide an unsupported codec. Open the file in an audio editor and export a standard PCM WAV or common MP3, then add the new version.
If the output is WAV, create an MP3 delivery copy. If the output is already MP3, confirm that the source duration is correct and that silent or duplicated clips were not accidentally included.
Joining requires the clips to be decoded into memory. Long, high-resolution recordings are demanding. Process them on a desktop, close other heavy tabs, or divide the project into smaller groups.
Recordings can contain names, private conversations, business information, or material that has not been released. Before using an online editor, understand whether the files are uploaded and how long the service retains them.
Our tool decodes and joins the selected clips inside the browser. The recordings are not submitted to the FreeTextoSpeech server. Reloading or closing the page clears the working project.
You should still keep your own backup. Browser processing protects the transfer, but it does not replace project storage or version control.
Before joining:
After joining:
Always play the finished file. An export can be technically perfect and still contain the wrong chapter, a duplicated sentence, or a pause that sounds strange. Software cannot make that editorial decision for you.
Open the free audio joiner, add the clips, and listen once after arranging them. Export WAV if you expect another edit. Choose MP3 when the file is finished and needs to be small enough to publish or send.
Visual guide
How the how to combine audio files tool presents input and output.
In context
A step-by-step visual guide for how to combine audio files.
A tiny favor
Allow ads for this site, then check again. Prefer no ads? Support us to unlock ad-free access and 2 million cloud characters.
Allow ads for freetexttospeech.net, then check again.
Already supporting us? Sign in to restore your perks.
Send feedback
Tell us what you think
Bugs, ideas, or anything that would make FreeTextoSpeech better.
