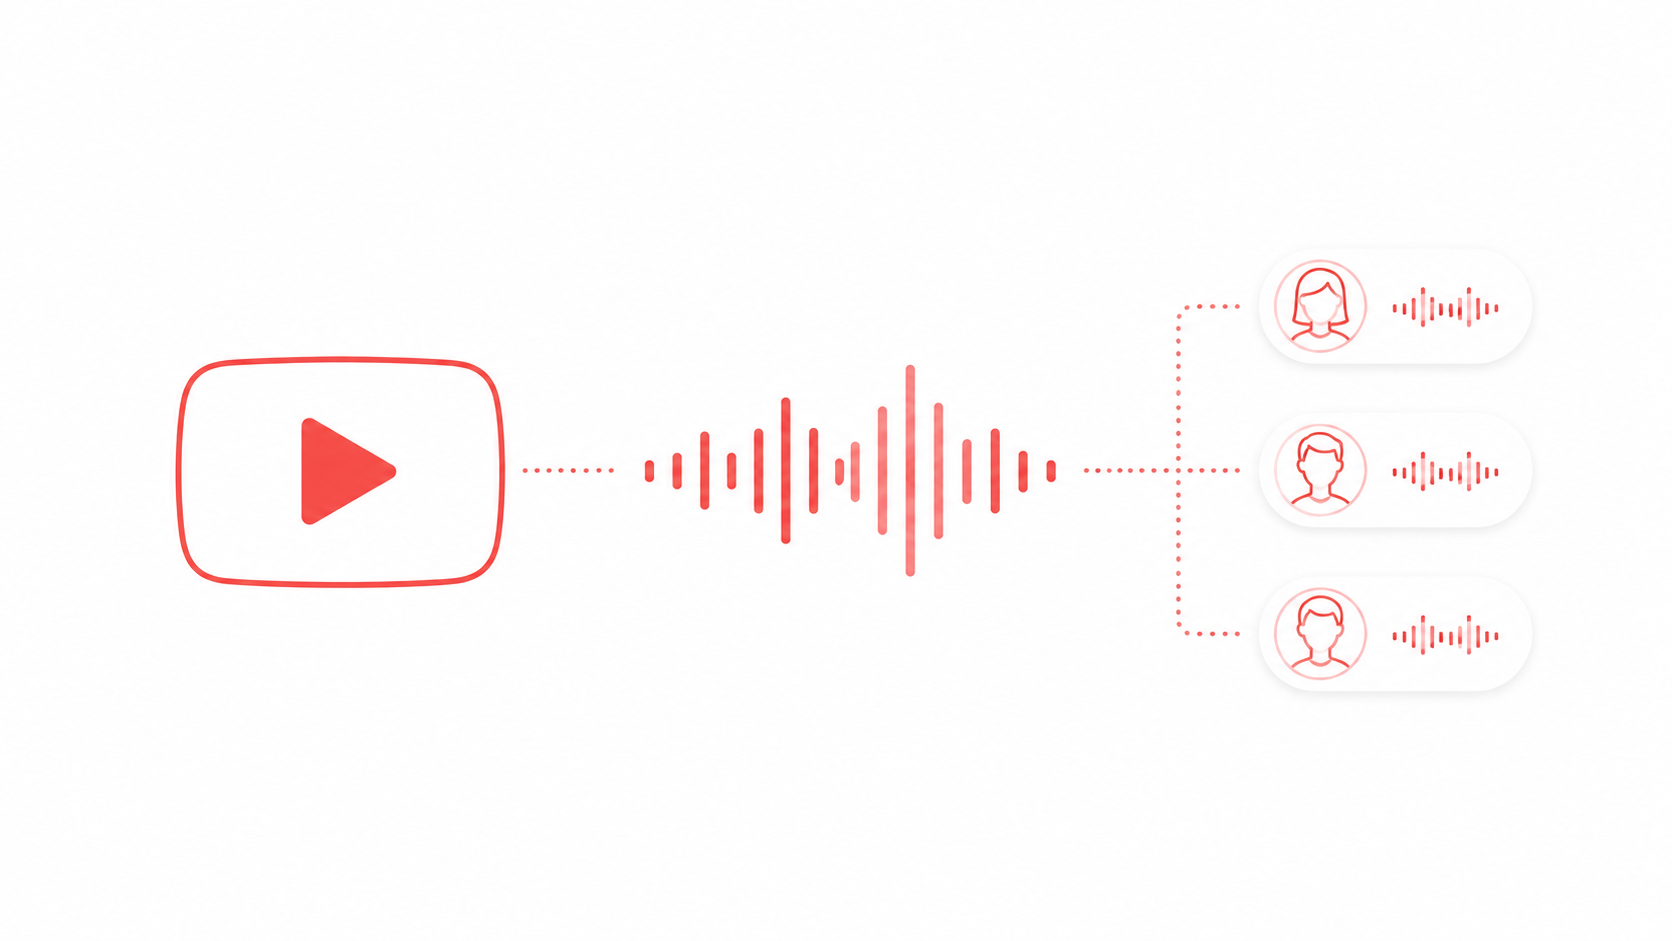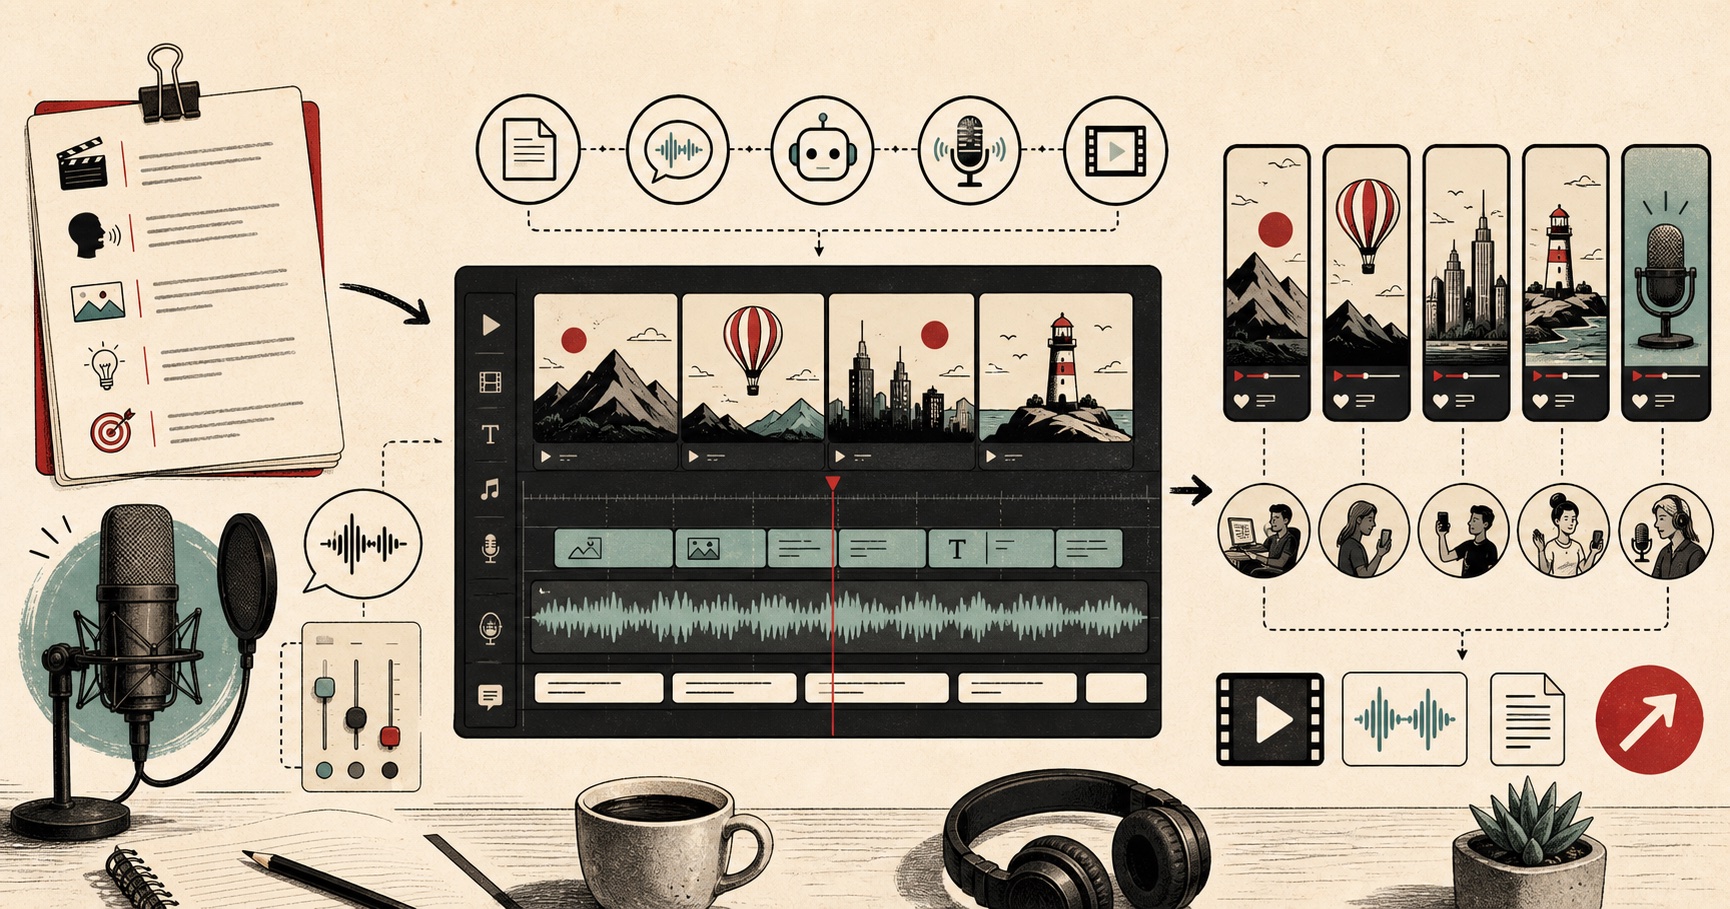
Short answer: write a tight script, generate the voiceover in FreeTextoSpeech, download the WAV, and import it into your editor or straight into Reels. Pick a distinctive voice, nudge the speed to 1.1x for punchy pacing, sync it to your clips, and add captions for the muted crowd. The audio is yours to use commercially, with no attribution.
I built FreeTextoSpeech after watching too many creators stall at the same spot. They had the footage, they had the idea, but recording a voiceover meant finding a quiet room, doing five takes, and still hating how they sounded. A Reel does not need any of that. You type the script, generate a clean read in a few seconds, and drop it on the timeline. This is the exact workflow I would hand a friend who wants a professional-sounding Reel without ever touching a microphone.
Why use a generated voiceover on Reels
Instagram rewards Reels that keep people watching, and a confident voice does a lot of that work. Here is why a generated track beats recording yourself for most creators.
- No mic, no quiet room. You can write and generate a voiceover on a train, in a cafe, or on a lunch break. The bottleneck disappears.
- Consistency. The same voice on every Reel makes your account feel like a brand. Viewers start recognising you in the first second of audio, which matters when they are scrolling fast.
- You own the file. You download the WAV and reuse it anywhere, across Reels, Stories, and any future edit. No rights holder can claim a synthetic voice you generated yourself.
- Speed. Once the script exists, the voiceover is about a minute of work. You can batch a week of Reels in one sitting.
- No face or voice required. If you are camera-shy or just starting out, a generated voice lets you post without ever showing up on screen or recording your own audio.
The thing people get wrong is thinking a synthetic voice sounds cheap. It did a few years ago. It does not now, as long as you pick well and write for the ear. More on both below.
The full workflow, start to finish
This is the whole loop. It takes a couple of minutes once your script is ready.
- Write a tight script. Short sentences, one idea per line. Lead with your strongest line so the voice delivers the hook before anyone scrolls. For a 30-second Reel, aim for roughly 70 to 90 words.
- Generate the voice. Paste up to 5,000 characters into FreeTextoSpeech, pick a voice, and set the speed. For punchy short-form, 1.1x usually lands right. Storytelling can stay at 1.0x.
- Download the WAV. You get a clean 24 kHz WAV file, ready to edit. It is not an MP3, which I will come back to.
- Import and sync. Drop the WAV into CapCut, Premiere, InShot, or your editor of choice, and line it up with your clips. You can also add it directly in the Instagram Reels editor as an imported audio track.
- Add captions. A large share of Reels viewers watch on mute, so pair the voiceover with on-screen text. This is not optional if you want reach.
A 5,000 character request is roughly 1,000 words, far more than a single Reel needs, so one generation usually covers a full video with room to spare. It is free, with no signup for basic use.
Picking a voice that stands out
Most Reels reuse the same handful of default app voices, so choosing a distinctive one is an easy edge. FreeTextoSpeech runs on the open Kokoro model and gives you 54 voices across 9 languages, including US English, UK English, Spanish, French, Hindi, Italian, Japanese, Brazilian Portuguese, and Mandarin Chinese. Preview a few and commit to one you can carry across your whole account.
For a warm, bright US female read that suits lifestyle and product content, try Nova, Bella, or Sarah. If you want more weight for storytelling or "did you know" style hooks, US male voices like Adam, Michael, or Onyx carry authority. And for a crisp UK sound, Emma, George, and Daniel are strong. My honest advice: audition three, pick one, and stop shopping. Consistency beats variety here. If you are curious which voice a competitor is using, here is how to identify an AI voice, and if you want the read itself to feel more human, we wrote a whole guide on making text to speech sound human.
Scripting for the scroll
The voice is only as good as what you feed it. Reels live and die on the first two seconds, so the script has to earn attention fast.
- Hook first. Put your best line at the top. "Stop using the default Reels voice" beats "In this video I want to talk about voiceovers."
- One idea per line. Short lines keep the pacing snappy and make your captions clean and easy to read.
- Spell out anything tricky. Numbers, acronyms, and brand names read better when you write them the way they sound. "en-bee-ay" instead of "NBA" is a quick, reliable fix.
- Read it aloud first. If it feels awkward in your mouth, it will feel awkward in the voice. Cut the clunky bits before you generate.
- Punctuation is your control panel. A comma buys a short pause, a full stop a longer one. Break sentences where you want the voice to breathe.
Controlling how the voice sounds
You do not need any special code to shape the read. FreeTextoSpeech takes plain text only, so there is no SSML to learn and nothing to paste in. That sounds like a limit, but in practice it is a relief. You shape the whole read with three levers.
- Punctuation for pacing. Commas and full stops set the rhythm. Split a long line into two short ones and the voice pauses where you want emphasis.
- Spelling for pronunciation. If a name or acronym comes out wrong, respell it phonetically. It is faster and more reliable than any tag would be.
- The speed slider for energy. It runs from 0.25x to 4.0x. For Reels I keep it around 1.1x, which reads as confident and slightly urgent without sounding rushed. Push much past 1.3x and clarity starts to slip. If a Reel runs long, cut words instead of speeding up the read.
A worked example: a 25-second tip Reel
Say you are making a quick tip video. Your script might read: "Stop scrolling. Here is the fastest way to add a voiceover to your next Reel. No microphone. No awkward takes. Just type, generate, and download. Sync it to your clips, add captions, and post." Notice the short lines and the full stops doing the work of pauses. Paste that into FreeTextoSpeech, pick Nova or Adam, set the speed to 1.1x, and generate. Download the WAV, drop it into CapCut, and trim your clips to match the beats. Add captions on top, since plenty of viewers keep the sound off, and you have a finished Reel in a few minutes with zero recording.
Import options: editor vs Reels directly
You have two clean paths, and both work.
- Edit first, then upload. Import the WAV into CapCut, InShot, or Premiere, sync it, add captions and effects, then export a 1080x1920 MP4 and upload that to Reels. This gives you the most control over timing and text styling.
- Import into Reels directly. In the Reels editor you can add your own audio file to the timeline and layer it over your clips. This is quicker but gives you less caption control, so most creators still lean on their editor for the polish.
Either way, remember the download is a WAV, not an MP3. WAV is exactly what you want for editing because it is uncompressed and full quality. The files are larger, which is a minor annoyance if you are moving them between devices. If a specific tool insists on MP3, convert the WAV afterwards in a free app like Audacity. FreeTextoSpeech does not export MP3 itself, so here is the quick way to turn a text to speech WAV into an MP3 if you need one.
Commercial use, no strings
This is the part creators worry about, so let me be blunt. FreeTextoSpeech allows commercial use with no attribution. That covers sponsored Reels, affiliate content, brand deals, and anything you cross-post to your own site. You do not need to credit the tool, buy a plan, or add a line to your caption. Because the voice is synthetic and generated fresh from your text, there is no upstream recording for anyone to claim against, so the voice track carries no copyright risk.
Music is the one thing to keep separate in your head. Your generated voiceover is safe. A trending song is a different animal with its own licensing rules, and a hot track is not automatically cleared for monetised use just because everyone is using it. Use Instagram's in-app music library where you can, and clear anything else before you build a campaign around it. The voice is yours. The music follows the platform's terms. If you want more ideas for where this workflow fits beyond Reels, our roundup of text to speech use cases is a good place to start.
Batching a week of Reels
Because generating audio is so fast, the smart move is to batch. Set aside 30 minutes, write five or six short scripts in one document, then run them through the tool and save each WAV with a clear name. Now you have a small library of voiceovers ready to pair with clips whenever you have a spare moment. There is no studio to set up and no takes to re-record, so you keep a steady posting schedule and every Reel sounds like it came from the same account.
Try it on your next Reel
Write a 25-second script, run it through FreeTextoSpeech for Instagram, and download the WAV. Pick a distinctive voice, set the speed to 1.1x, sync it to your clips, and add captions for the muted crowd. You will have a polished, copyright-safe Reel voiceover in minutes, free, with no signup and a voice you can keep using on every video you post. Open FreeTextoSpeech and make one now.