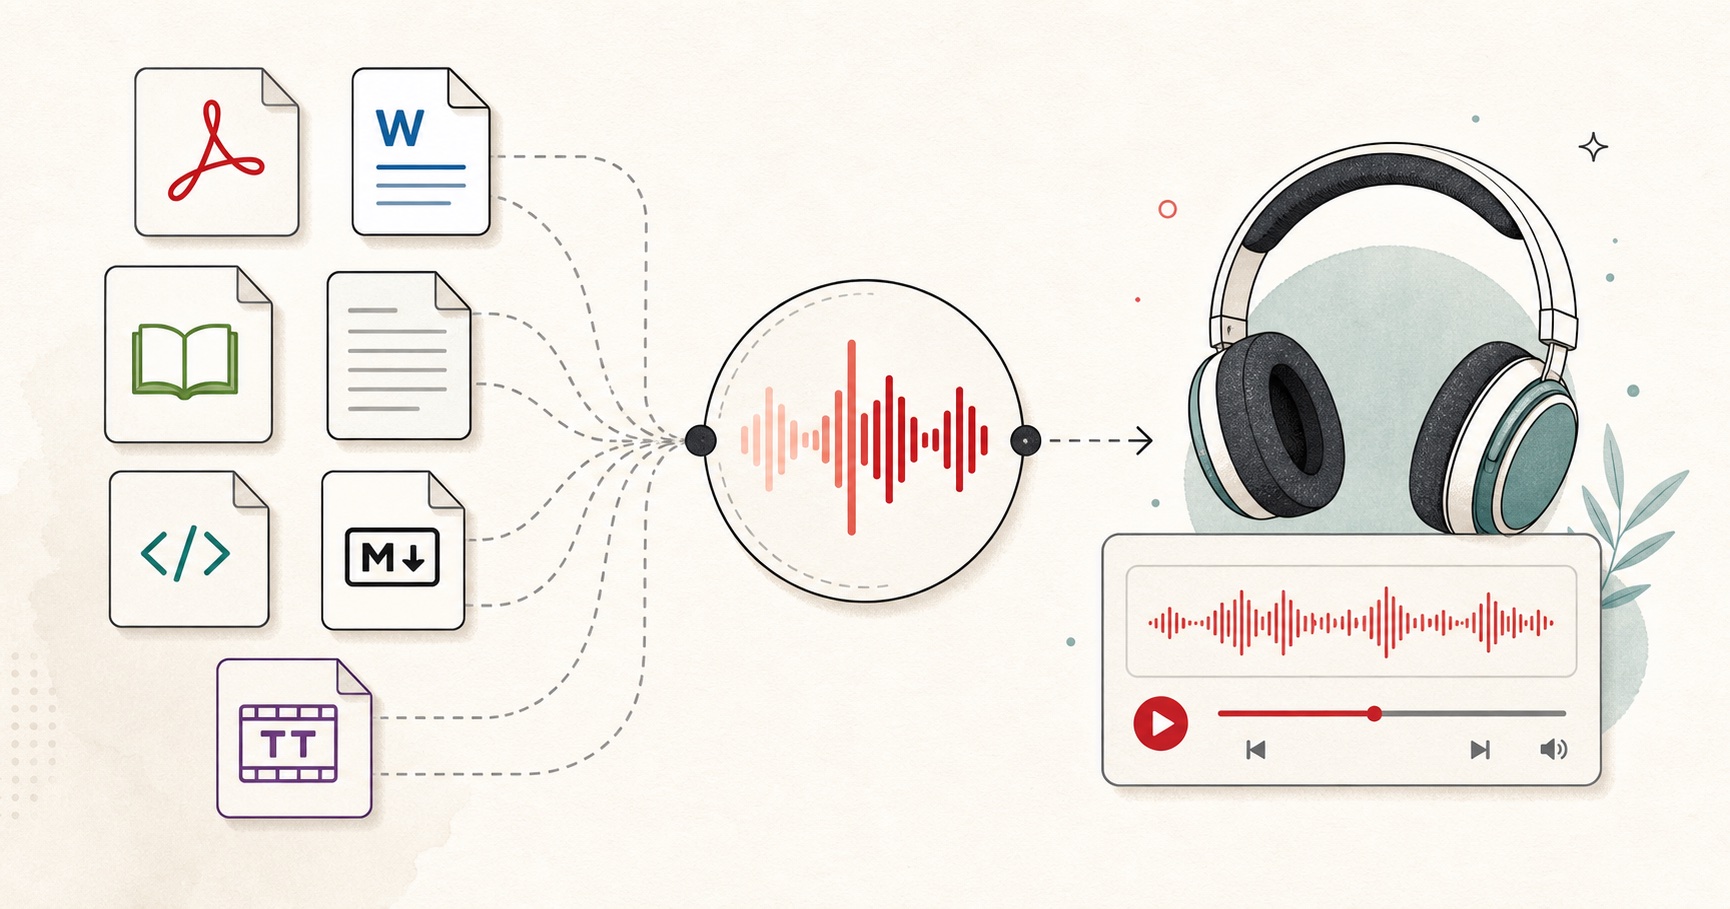
Short answer: You don't need a microphone, and you don't need to record yourself. Write a short script for each slide, turn each one into audio with FreeTextoSpeech, drop the WAV files onto the matching slides in PowerPoint, set them to play automatically, and you have a narrated deck. From there you can present it or export the whole thing as a video. I'll walk through the exact steps below, including the small settings that trip people up.
I get asked this a lot, usually by people who hate the sound of their own voice or who are recording in a house that's never quiet. Fair enough. I built FreeTextoSpeech as a free browser tool running the open Kokoro model, and one of the things it's genuinely good at is per-slide narration. You type the words, pick a voice, and download clean audio. No mic, no re-takes because a dog barked, no "um" to edit out later. Here's how I'd put a narrated deck together from scratch.

Why generate the voiceover instead of recording it
Recording a mic voiceover for a slide deck is more work than it looks. You need a decent mic, a quiet room, and the patience to redo a slide when you fumble a sentence. Change one line later and you're back at the microphone matching your old tone. Generated narration skips all of that.
- No equipment. If you can type, you can narrate. Nothing to buy, nothing to set up.
- Consistent tone across every slide. Slide 12 sounds exactly like slide 1, even if you built them a week apart.
- Painless edits. Fix a typo or reword a point, regenerate that one clip, swap it in. You're done in a minute instead of setting up to record again.
- No background noise. The audio comes out clean every time, which matters a lot when the whole thing plays back at once in a video.
The tradeoff is honest: a generated voice won't carry the exact personality of a live presenter riffing in the room. For a keynote you're delivering yourself, record live. For explainers, training decks, product walkthroughs, and anything you'll export to video and send around, generated narration is the better call. It's repeatable, and repeatable is what you want when a deck gets updated three times before launch.
Step 1: Write the narration slide by slide
This is the part people rush, and it's the part that decides whether the final deck sounds good. Don't write one long essay. Write a small script for each slide, because each slide gets its own audio file.
Open your speaker notes and treat them as the script. A few habits that make a real difference:
- Keep each slide's script short. Two to four sentences is plenty for most slides. If you're writing a paragraph, the slide is probably doing too much.
- Write for the ear, not the eye. Read it out loud in your head. If a sentence is hard to say, it'll be hard to listen to. Cut the clause.
- Don't just read the bullet points. The audio should add something the slide doesn't already show. Let the visuals carry the headline and let the voice explain it.
- Match the length to the slide. A title slide might get one line. A chart might get four. That pacing is what makes the finished video feel deliberate.
One thing worth knowing up front: FreeTextoSpeech takes plain text only, so you don't need SSML tags or any markup. You shape the delivery with ordinary punctuation. A comma is a short pause. A full stop is a longer one. If a word gets read wrong, spell it the way it should sound. That covers almost everything people reach for SSML to do. If you want to go deeper on getting a natural read, I wrote a whole piece on making text to speech sound human that applies directly here.
Step 2: Generate each slide's audio in FreeTextoSpeech
Now you turn each script into a file. Do it one slide at a time so the files stay organized and easy to swap later.
- Paste one slide's script into FreeTextoSpeech. You get up to 5,000 characters per request with no signup, which is far more than a single slide will ever need.
- Pick a voice and stick with it. There are 54 voices across 9 languages. For US English I'd audition Heart, Bella, or Sarah for a warm read, or Adam and Michael when you want something lower and steadier. UK options like Emma, George, and Daniel work well for a more formal deck. Choose one and use it for the whole presentation so the narration stays consistent.
- Nudge the speed if you need to. The slider runs from 0.25x to 4.0x. For presentation narration I usually pull it back a touch, around 0.95x, so it doesn't feel rushed. People need a beat to look at the slide while they listen.
- Generate and download the WAV. The file comes out as a WAV at 24 kHz. Save it with a name that matches the slide, like slide-03.wav, so you're not guessing later.
- Repeat for every slide. Yes, it's a bit repetitive, but each clip takes seconds, and having separate files is exactly what lets you fix one slide without touching the rest.
Keep all the WAVs in one folder next to your .pptx. When you have twenty slides, that little bit of naming discipline saves you real time.

Step 3: Insert the audio on each slide in PowerPoint
This is the mechanical part, and it's the same on every slide once you've done it once.
- Open the first slide that needs narration.
- Go to the Insert tab, click Audio, then Audio on My PC.
- Pick the WAV that matches this slide and insert it. A small speaker icon appears on the slide.
- Drag that speaker icon into a corner so it's out of the way. It won't show in the exported video, but it's tidier while you work.
- Move to the next slide and repeat with its file.
On Mac the menu is nearly identical: Insert, Audio, then browse to the file. The speaker icon behaves the same way.
Step 4: Set every clip to play automatically
By default PowerPoint waits for you to click the speaker before the audio plays. For a hands-off narrated deck, you don't want that. Fix it per clip:
- Click the speaker icon on a slide.
- Open the Playback tab that appears in the ribbon.
- Set Start to Automatically. Now the audio fires the moment the slide appears.
- Tick Hide During Show so the icon never shows on screen.
- If a slide has only narration and no other timing, that's all it needs. If you have animations, order them so the voice lines up with what's on screen.
The setting people miss is Start: Automatically. Skip it and your exported video will sit in silence on every slide waiting for a click that never comes. Set it on all of them.
Step 5: Set slide timing so the deck advances itself
For a video export, PowerPoint needs to know how long to stay on each slide. Two ways to handle it:
- Manual timing. On the Transitions tab, under Advance Slide, untick On Mouse Click and set After to slightly longer than that slide's audio. If the clip runs 8 seconds, set 9 or 10 so it doesn't cut off. Do this for each slide.
- Rehearse Timings. On the Slide Show tab, use Rehearse Timings and let each clip play through, clicking to advance when the audio finishes. PowerPoint records the timing for you. This is faster for a long deck.
Give each slide a small buffer past the end of its audio. A half-second of quiet between slides sounds natural. Audio that gets chopped off mid-word sounds broken.
Step 6: Export the deck as a video
Once narration and timings are set, exporting is quick.
- Go to File, Export, Create a Video (on Mac it's File, Export, then choose MP4).
- Pick a quality. Full HD (1080p) is the right default for most uses.
- Make sure it's set to Use Recorded Timings and Narrations so it picks up your audio and slide timing.
- Click Create Video, choose MP4, and save.
PowerPoint renders the whole deck into a single MP4 with your narration baked in. That file uploads straight to YouTube, drops into a course platform, or emails to a colleague. No mic ever touched it. If you're heading to YouTube specifically, it's worth skimming the notes on picking AI voices for YouTube before you settle on one.
A few things worth knowing
- The files are WAV, not MP3. That's fine here, because PowerPoint handles WAV natively and it's the cleaner source anyway. If you ever need the audio as MP3 for something else, you can convert the WAV in a free editor. For the deck itself, don't bother.
- Regenerating one slide is easy. Change the script, generate that clip again, delete the old audio on that slide, and insert the new one. The rest of the deck is untouched.
- Commercial use is allowed with no attribution. Client decks, paid courses, internal training, product demos: all fine. You don't credit the tool anywhere.
- Keep the character count in mind. It's 5,000 per request, but a single slide's script is nowhere near that. This limit only matters if you're generating one long file, which you're not doing here.
Get started
Write a short script for each slide, generate the audio in FreeTextoSpeech, drop the WAVs onto their slides, set each one to play automatically, and export the deck as a video. It's a bit of clicking the first time, but once you've narrated one deck this way you'll never dread the "we need a voiceover" ask again. If you want the full rundown of voices and settings tuned for slides, take a look at the text to speech for PowerPoint guide, then open the tool and generate your first slide.