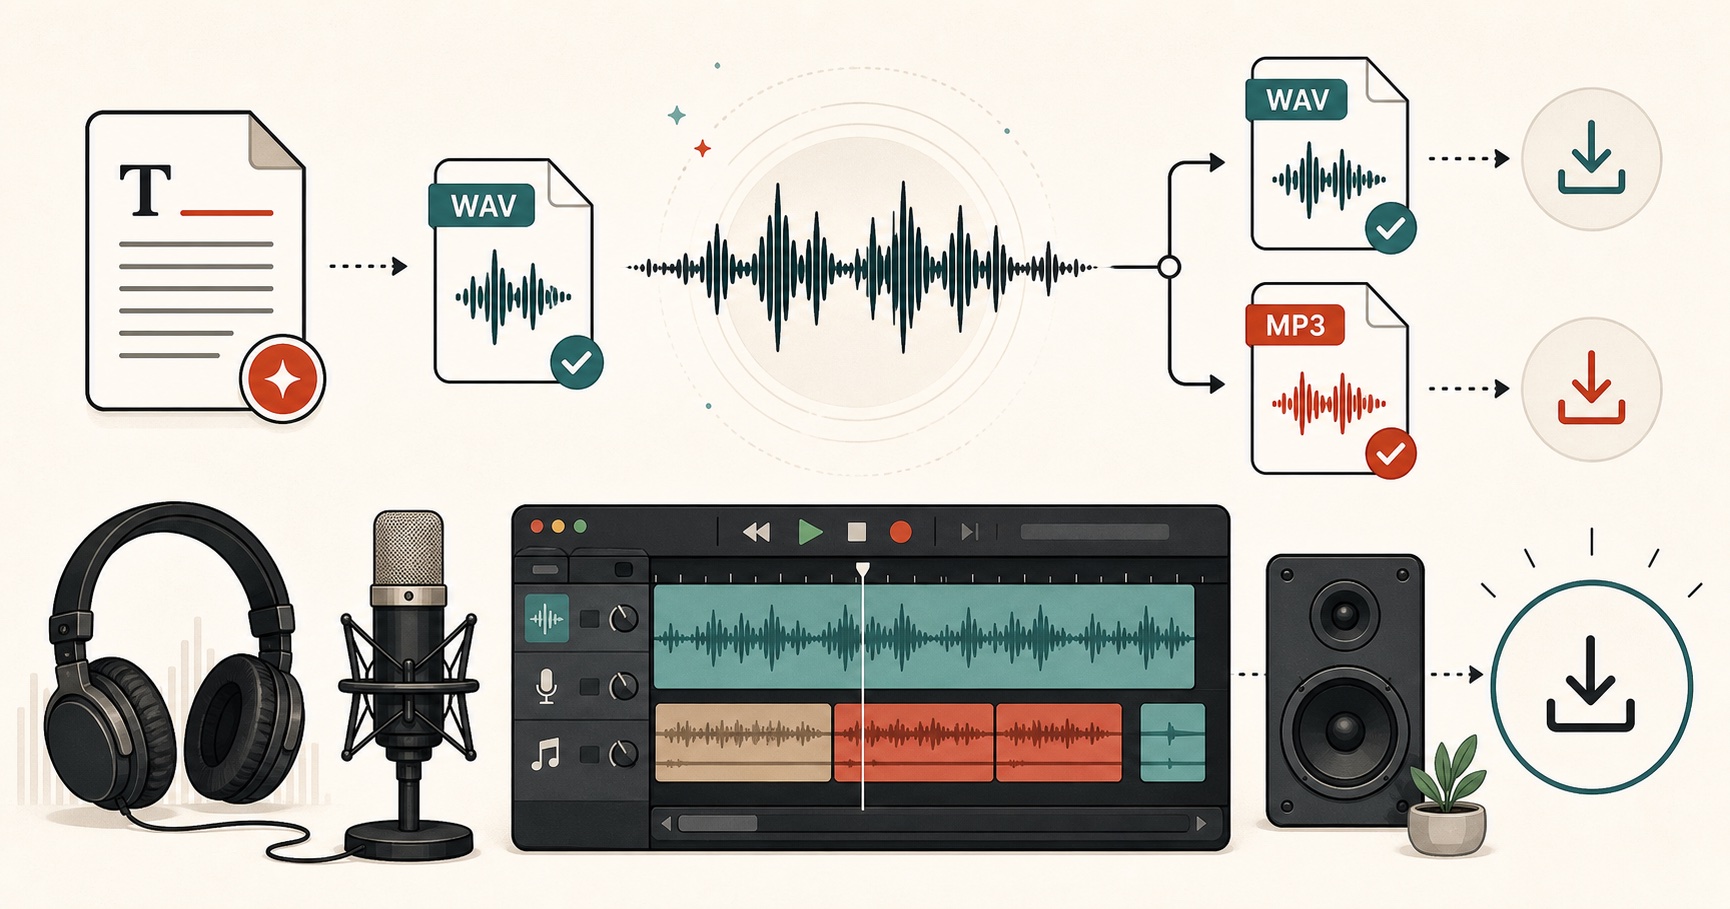
Short answer: To download an AI voice, paste your text into FreeTextoSpeech, pick a voice, click generate, and hit download. You get a WAV file saved to your device's Downloads folder. It is free, no signup needed, and cleared for commercial use with no attribution. If you specifically need an MP3, convert the WAV afterward in a free tool like Audacity.
People ask me this constantly: "I made the voice, it played fine in the browser, but where's the actual file?" So I want to walk through the whole thing start to finish. Not just the download button, but where the file lands, what format you get, and how to actually use it on a phone, in a video, or in a podcast once it's on your machine.
I built FreeTextoSpeech partly because the download step on most tools is a mess. You generate audio, then you hit a paywall, or the file is watermarked, or it's locked behind an account. None of that here. Generate, download, done.
How to generate and download the audio
The core flow takes under a minute once you know where the buttons are. Here it is step by step.
- Open the tool - go to the text-to-speech tool and you land straight on the editor. No signup screen, no popup asking for an email.
- Paste your text - drop in up to 5,000 characters per request. That's roughly a page and a half of writing, or about 6 to 8 minutes of spoken audio depending on the voice and speed.
- Pick a voice - there are 54 voices across 9 languages. For US English you've got female voices like Heart, Bella, Sarah, and Nicole, and male voices like Adam, Michael, Onyx, and Liam. UK English gives you Emma, George, and Daniel. Just click one to preview.
- Set the speed - the slider runs from 0.25x to 4.0x. Leave it at 1.0x for a natural pace, or nudge it down to 0.9x if the delivery feels rushed for a voiceover.
- Generate - click the generate button and wait a few seconds. The audio runs through the Kokoro model on the server and comes back ready to play.
- Download - once it's done, the download button becomes active. Click it and the file saves to your device.
That's the entire loop. If you don't like how a line sounds, tweak the text or switch voices and regenerate. Each generation is independent, so you can iterate as many times as you want before you commit to a download.
Where the file actually goes
This trips up more people than it should, and it's not their fault. Browsers hide the download location by default. Here's where to look.
On a computer
- Windows and Mac - the file lands in your Downloads folder unless you've changed your browser's default. On Chrome or Edge you'll also see it pop up in the download bar at the bottom of the window, or under the download icon near the address bar.
- The filename - it saves as a .wav file. If you generate several clips, your browser will number them so nothing gets overwritten.
On a phone or tablet
- Android - it usually goes to the Downloads folder, reachable through the Files app or your browser's download list.
- iPhone and iPad - Safari drops downloads into the Files app, under "On My iPhone" or iCloud Drive in the Downloads folder. Once it's there you can move it into any app that reads audio.
One honest tip from experience: if you're doing serious work, download to a computer first. Phones make it fiddly to rename files and drag them into a video editor. I'll do quick clips on my phone, but anything I'm building a project around, I download on my laptop.
Why it's a WAV, not an MP3
The download is a WAV file at 24 kHz. Not an MP3. I get asked about this a lot, so let me explain the reasoning rather than just stating it.
WAV is uncompressed. That means the audio you download is exactly what the model produced, with nothing thrown away to shrink the file. For a voiceover you're going to edit, that's what you want. You can layer music under it, run it through noise processing, and export to whatever format your platform needs at the very end. Start from the clean version and you keep your options open.
MP3 is compressed. It's smaller and more convenient for sharing, but the compression permanently discards some audio data. If you compress early and then edit, small artifacts can stack up. So the tool hands you the clean WAV and lets you decide when and whether to compress.
If you do need an MP3, converting takes two minutes:
- Open a free converter - Audacity is the one I use, it's free and runs on Windows, Mac, and Linux. Online converters work too if you'd rather not install anything.
- Import the WAV - drag your downloaded file in.
- Export as MP3 - choose Export, pick MP3, set the bitrate (192 kbps is plenty for spoken voice), and save.
I wrote a fuller guide on that if you want the details, over at converting text-to-speech to MP3. For most uses, though, the WAV works directly and you never need to bother.
Using your downloaded voice
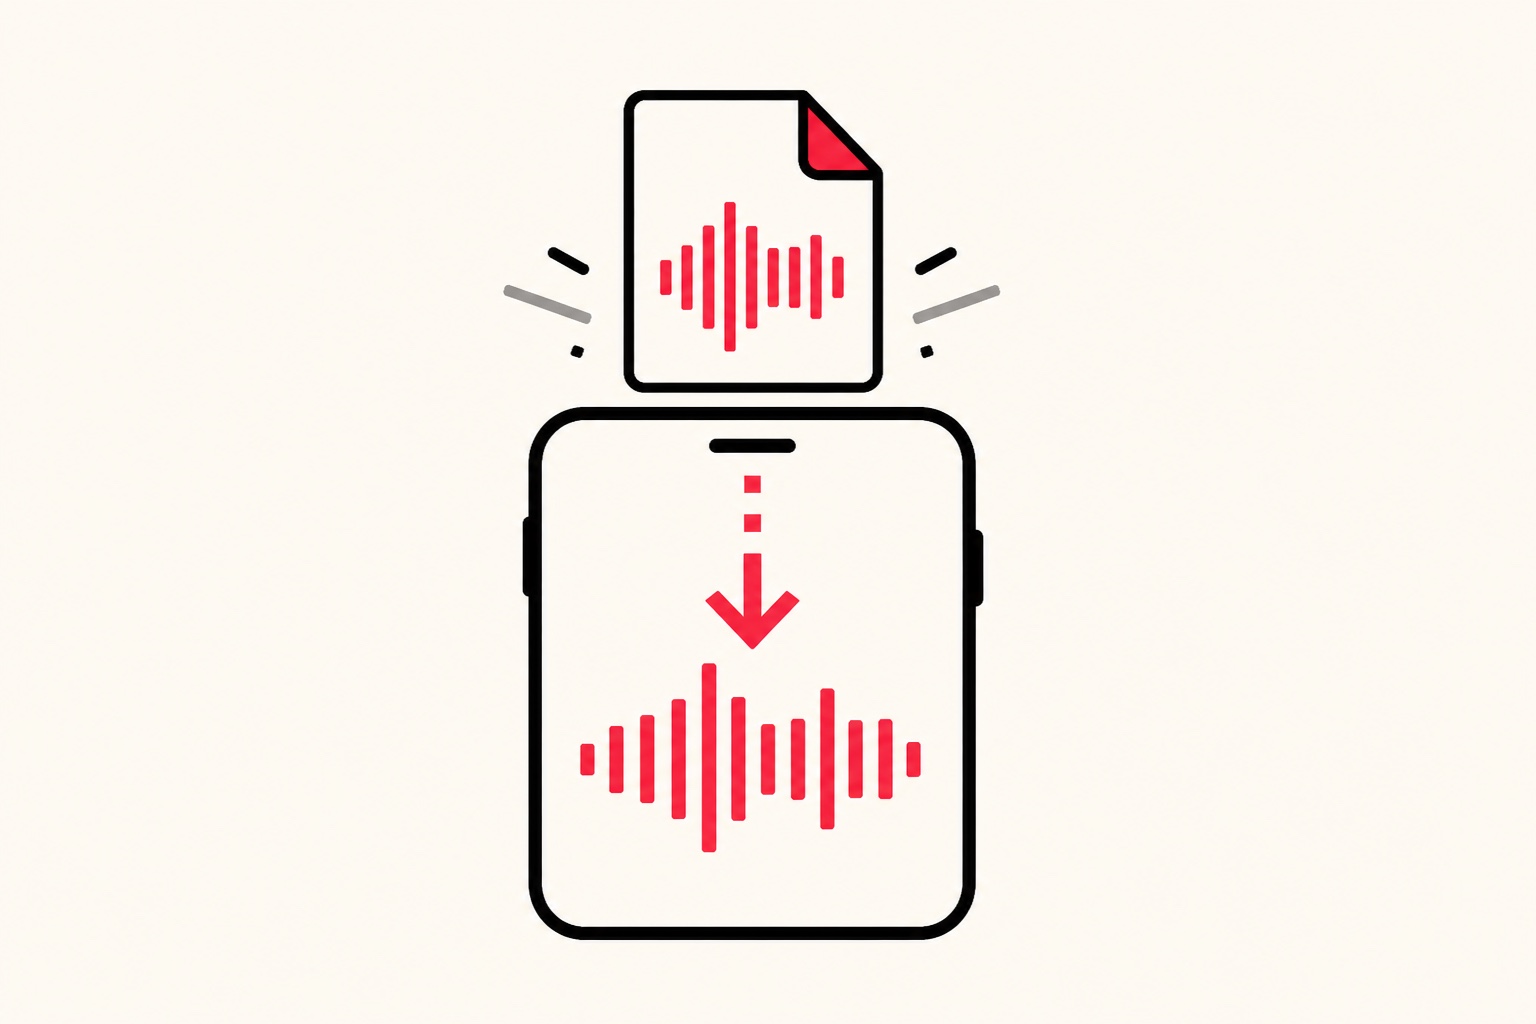
Once the file is on your device, here's what to actually do with it depending on where it's going.
On your phone
WAV plays natively on both Android and iPhone. Open it in your Files app and it'll play. To use it as a notification sound or in a messaging app, you may need the MP3 version since some apps are picky about format. For plain listening, the WAV is fine.
In a video
Every video editor I know of imports WAV without complaint - CapCut, Premiere, DaVinci Resolve, iMovie, Final Cut. Drop the file onto your audio track, line it up with your footage, and export. Because it's uncompressed, you keep full quality right up until your final render. This is the workflow most YouTubers use, and I've written more about the best AI voices for YouTube if that's your use case.
In a podcast
WAV is the professional standard for podcast production, so you're already in the right format. Import it into your editing software alongside your other tracks, mix, and then export to MP3 at the end for distribution, since podcast hosts want MP3 for the feed. Generating intros, ad reads, or full narration this way saves a lot of studio time.
The part that matters: it's free and cleared for commercial use
Here's what makes the download genuinely useful and not just a demo. Everything you generate is free, needs no signup for basic use, and is cleared for commercial use with no attribution required.
That last point is the one people double-check, because a lot of "free" tools quietly forbid commercial use or demand a credit line. Not here. You can:
- Monetize the video - put the voiceover in a YouTube video that runs ads. That's allowed.
- Sell the product - use the audio in a paid course, an app, an ad, or a client project. Allowed.
- Skip the credit - you don't have to mention FreeTextoSpeech anywhere. No watermark on the audio either.
A couple of honest limits so there are no surprises. You get 5,000 characters per request, so long scripts get split into a few generations that you download and stitch together. And the input is plain text only - there's no SSML, so you shape pauses and emphasis with punctuation and the speed slider rather than markup tags. Commas give short pauses, periods give longer ones, and a well-placed line break does more than you'd expect. If you're chasing a really natural read, my notes on making text-to-speech sound human go deep on that.
Quick recap and get started
Downloading an AI voice comes down to four things: paste your text, pick from the 54 voices, generate, and download the WAV. The file goes to your Downloads folder on a computer or the Files app on a phone. It works as-is in video editors and podcast software, and you convert to MP3 only if a specific app or platform demands it. All of it free, no account, cleared for commercial work.
The best way to understand the flow is to run it once. Open the FreeTextoSpeech tool, paste a sentence or two, pick a voice, and download it. You'll have your first AI voice file on your device inside a minute, and from there the rest is just repetition. Try it at FreeTextoSpeech.