Short answer: you can start a faceless YouTube channel without spending a rupee or a dollar. Write your script, generate the voiceover with FreeTextoSpeech, pull free footage and images, cut it in a free editor, and add captions. The only real cost is your time, and there is more of that involved than most "start earning today" videos admit.
I built FreeTextoSpeech because I kept watching creators get told they needed a $200 subscription just to narrate a video. You do not. Below is the full free stack I would use if I were starting a faceless channel from scratch today, plus the honest parts nobody puts in the thumbnail.
What "faceless" actually means
A faceless channel is any channel where you never appear on camera. No talking head, no vlog, no selfies. The video is footage, images, text, or animation, and a voice carries the story. That is it.
The format works because it separates the two hardest things about YouTube: being on camera, and having something worth saying. If you are shy, if you do not like how your voice sounds, or if you simply want to publish faster than a filming schedule allows, faceless is the honest answer. Common niches that run this way:
- Explainers and educational content - science, finance, history, "how things work" style videos.
- Top 10 and list videos - ranked countdowns over stock footage.
- Meditation and sleep - long ambient videos with a calm narrator.
- Motivation and self-improvement - short scripts over cinematic b-roll.
- Tech reviews and news roundups - screen recordings plus narration.
None of these need your face. All of them need a voice, and that is the first place people assume they will have to pay.
The free stack, piece by piece
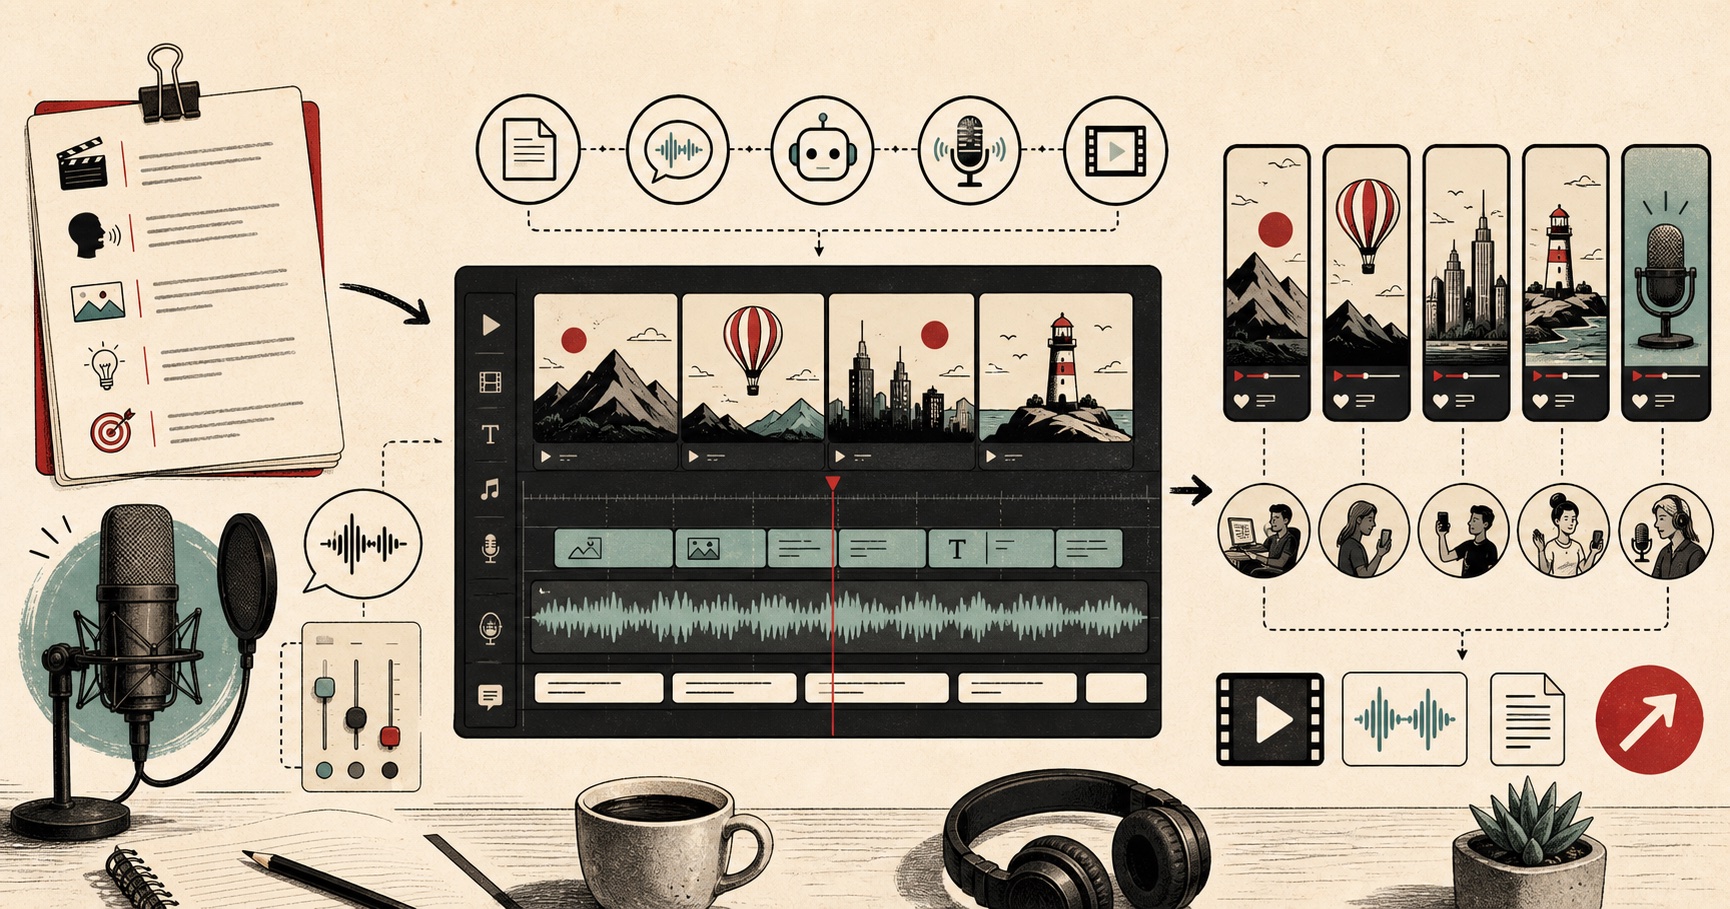
Here is the whole toolkit. Every item on this list has a genuinely free tier that is good enough to publish real videos, not a trial that expires in seven days.
1. The script
The script is the spine of a faceless video. Everything else hangs off it. You do not need special software here. A plain document, Google Docs, or even a notes app is fine.
Write the way people talk, not the way essays read. Short sentences. One idea per line. When I write a script that I will feed to an AI voice, I read it out loud once first. If it trips me up in my own mouth, it will trip up the voice too. Aim for roughly 150 words per minute of finished video, so a 6-minute video is around 900 words.
If you want a deeper look at how sentence structure changes the way a synthetic voice sounds, I wrote a separate guide on making text to speech sound human that goes further than I can here.
2. The voiceover
This is the part that used to cost money, and no longer has to. Head to FreeTextoSpeech, paste your script, pick a voice, and generate. The tool runs on Kokoro, an open neural voice model, and gives you 54 voices across 9 languages. It is free, there is no signup for basic use, and commercial use is allowed with no attribution required, which matters when you are monetizing a channel.
My one strong piece of advice: pick a single signature voice and stick with it. A channel voice is part of your brand. Viewers start to recognize it, and switching around every few videos makes the channel feel inconsistent. Preview a handful, then commit. Some good starting points by niche:
- Explainers and tutorials - Adam, Michael, or Nicole. Clear and steady.
- Storytelling and motivation - Sarah, Bella, or Liam. Warm without being sleepy.
- Deep, dramatic narration - Onyx or Fenrir. If you want a full rundown of the low end, see deep male AI voices you can use free.
- UK-flavored history or travel - Emma, George, or Daniel.
Paste up to 5,000 characters per request. For a longer script, split it at paragraph breaks and generate each chunk separately, then line the clips up in your editor. There is no cap on how many clips you make.
One thing to know up front: the download is a WAV file at 24 kHz, not an MP3. For editing this is actually better, because WAV is uncompressed and every editor accepts it. If you specifically need an MP3 later, you convert the WAV in a free tool like Audacity. And you do not need SSML or any markup. It is plain text only. You control pauses with punctuation and the speed slider, which runs from 0.25x to 4.0x. A comma is a short breath, a period is a longer one, a new paragraph is a beat. That is all the control most narration needs.
3. Free footage and images
You need visuals to sit under the voice. Free, license-clear sources exist:
- Pexels and Pixabay - free stock video and photos, no attribution required, usable commercially.
- Videvo and Coverr - more free b-roll, good for cinematic filler.
- Wikimedia Commons - useful for historical images, but check each file's license, they vary.
- Your own screen recordings - free and unique, great for tech and tutorial channels.
The trap here is using the same three viral clips everyone else uses. Dig past the first page of results. Mixing footage with simple text-on-screen and the occasional zoom keeps a video from feeling like a slideshow.
4. A free editor
You do not need Premiere. Three genuinely capable free editors:
- CapCut - the easiest starting point, strong for shorts and auto-captions, free desktop and mobile.
- DaVinci Resolve - a professional-grade editor with a free version that never expires. Steeper to learn, but you will not outgrow it.
- CapCut or Shotcut - Shotcut is fully open source if you prefer that.
Drag your WAV onto an audio track, lay footage above it, and trim the visuals to match the voice pacing rather than the other way around. In a faceless video the narration leads and the pictures follow.
5. Captions
A large share of viewers watch with the sound off, especially on mobile, so captions are not optional in 2026. CapCut and Resolve both auto-generate captions, and YouTube can add them after upload. Read through them once to fix names and numbers the auto-transcriber gets wrong. Clean captions also help the algorithm understand your video.
Choosing a niche and staying consistent
The stack is the easy part. This is the part that actually decides whether the channel works.
Pick a niche you can make 50 videos about without getting bored. Not one video, fifty. If you cannot list twenty title ideas in ten minutes, the niche is too narrow or you are not interested enough to sustain it. Narrow beats broad early on, because a specific channel earns a specific audience. "Space facts" is better than "science." "Personal finance for people in their twenties" is better than "money."
Then commit to a publishing rhythm you can actually keep. One video a week, every week, beats five videos in one burst and then silence. Consistency is what compounds on YouTube. The channels that die are not the ones with bad videos, they are the ones that stopped uploading in month two.
If you are still deciding what direction to point in, my breakdown of the best AI voices for YouTube pairs voice styles with the niches they suit, which can help you shape the channel's tone before you record a word.
The honest part: what this actually takes
I am not going to sell you the dream where you upload three videos and quit your job. Here is the real picture.
The tools are free. The work is not. A single 8-minute faceless video is a script, a voiceover pass, sourcing and trimming footage, an edit, captions, a thumbnail, and a title. Early on that is three to six hours of work for one video. It gets faster as you build a template and a routine, but it never becomes zero.
Monetization is slow. YouTube's Partner Program requires 1,000 subscribers and 4,000 watch hours before you earn ad revenue, and most channels take many months to get there. The faceless format does not shortcut that. What it does is let you publish often enough to give yourself a real chance, without needing a camera, a studio, or a budget.
And AI narration is a tool, not a magic wand. A boring script read by a perfect voice is still a boring video. The voice removes one barrier. The thinking is still on you.
Get started this week
You already have everything you need. A rough plan for your first video:
- Pick your niche and write one 800-word script. Keep the sentences short.
- Generate the voiceover on FreeTextoSpeech, choose your signature voice, and download the WAV.
- Grab free footage from Pexels and Pixabay that fits the script.
- Cut it in CapCut or DaVinci Resolve and add auto-captions.
- Publish, then start the next one. Momentum matters more than polish on video one.
The barrier to starting a channel used to be money and equipment. Now it is mostly showing up consistently. If you want to hear how the voices sound before you commit to a script, open FreeTextoSpeech, try a few, and find the one that will become your channel's voice. For a closer look at using it specifically for YouTube, see the text to speech for YouTube page.